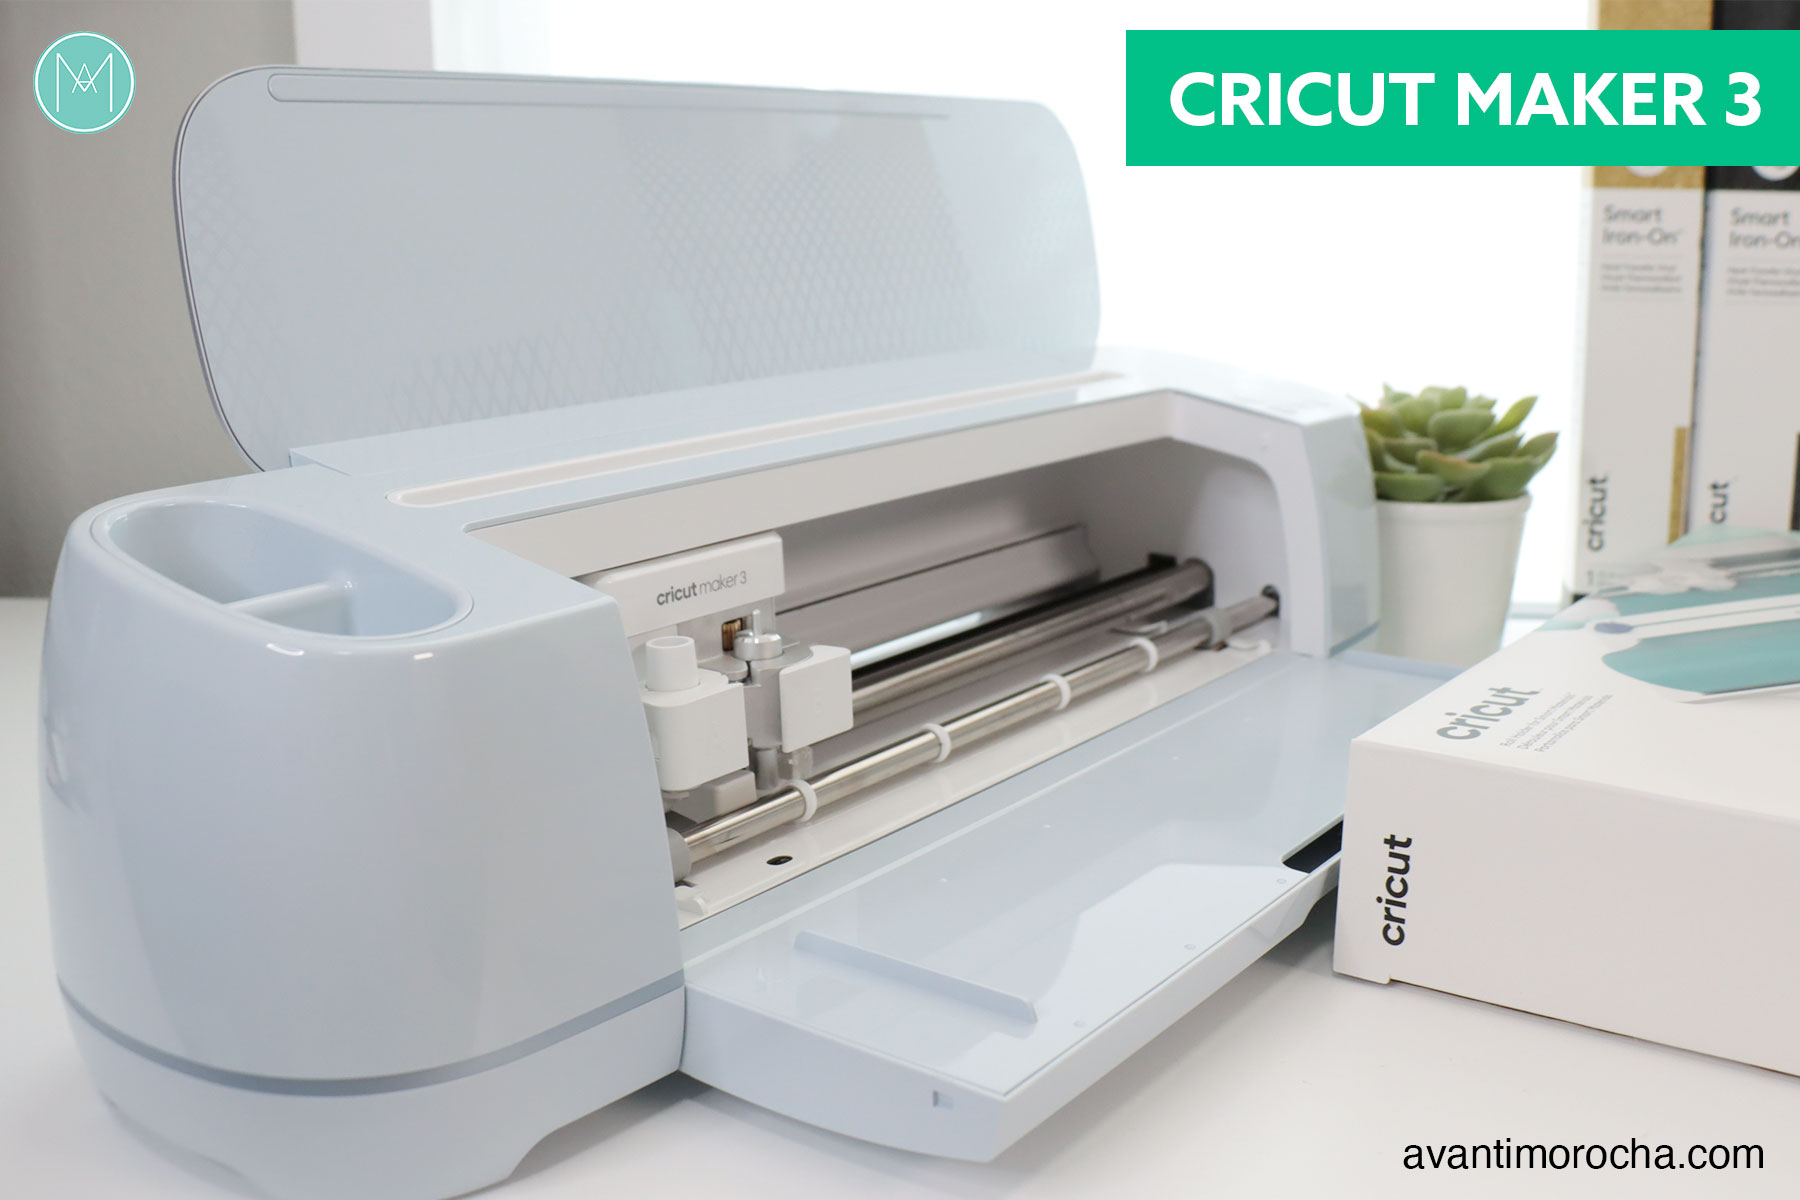
Step-By-Step Cricut Maker 3 Tutorial For Crafting Exquisite 4-Ribbon Lei
Learn How to Use Your Cricut Maker 3 Like a Pro with This Comprehensive Tutorial!
A Cricut Maker 3 tutorial is a step-by-step guide that teaches you how to use a Cricut Maker 3 machine. This versatile cutting machine can be used to create a wide variety of projects, from simple stickers to complex home dcor. Whether you're a beginner or an experienced crafter, a Cricut Maker 3 tutorial can help you get the most out of your machine.
Cricut Maker 3 tutorials are important because they can help you avoid mistakes and get started on your projects quickly and easily. They can also teach you new techniques and help you expand your crafting skills. One of the key historical developments in the world of Cricut machines was the release of the Cricut Maker 3 in 2019. This machine was a significant upgrade from previous models, and it introduced a number of new features, including the ability to cut thicker materials and the ability to use rotary blades.
This comprehensive tutorial will cover everything you need to know to get started with your Cricut Maker 3, including:
- How to set up your machine
- How to choose the right materials for your project
- How to use the different tools and features of your machine
- How to troubleshoot common problems
Cricut Maker 3 Tutorial
A Cricut Maker 3 tutorial is a step-by-step guide that teaches you how to use a Cricut Maker 3 machine. This versatile cutting machine can be used to create a wide variety of projects, from simple stickers to complex home dcor. Whether you're a beginner or an experienced crafter, a Cricut Maker 3 tutorial can help you get the most out of your machine.
- Setup: Learn how to set up your Cricut Maker 3 machine and connect it to your computer.
- Materials: Understand the different types of materials that can be cut with a Cricut Maker 3, and how to choose the right material for your project.
- Tools: Get to know the different tools and features of your Cricut Maker 3, including the rotary blade, knife blade, and scoring stylus.
- Software: Learn how to use Cricut Design Space, the software that you'll use to create and cut your designs.
- Design: Discover how to create your own designs in Cricut Design Space, or find and use pre-made designs.
- Cut: Learn how to cut your designs with your Cricut Maker 3, including how to adjust the cut settings for different materials.
- Troubleshooting: Get help troubleshooting common problems that you may encounter when using your Cricut Maker 3.
- Projects: Find inspiration and learn how to make a variety of projects with your Cricut Maker 3, from simple cards to complex home dcor.
- Tips and Tricks: Discover tips and tricks to help you get the most out of your Cricut Maker 3.
These are just a few of the essential aspects of a Cricut Maker 3 tutorial. By understanding these concepts, you'll be well on your way to creating amazing projects with your Cricut Maker 3.
Setup
Setting up your Cricut Maker 3 machine and connecting it to your computer is the first step to getting started with your new machine. This process is relatively simple and straightforward, but there are a few things you need to know to make sure it goes smoothly.
- Unboxing and Assembly: The first step is to unbox your Cricut Maker 3 and assemble it. This includes attaching the base unit to the stand, inserting the blade carriage, and installing the software.
- Power and Connection: Once your machine is assembled, you need to connect it to power and to your computer. The Cricut Maker 3 uses a USB cable to connect to your computer.
- Software Installation: The next step is to install the Cricut Design Space software on your computer. This software is used to create and cut designs with your Cricut Maker 3.
- Firmware Update: Once the software is installed, you need to update the firmware on your Cricut Maker 3. This ensures that your machine has the latest features and updates.
Once you have completed these steps, your Cricut Maker 3 will be set up and ready to use. You can now start creating and cutting your own designs!
Materials
When it comes to using a Cricut Maker 3, the type of material you choose for your project is essential. Different materials have different properties, and some materials are better suited for certain types of projects than others. For example, if you're making a delicate paper cut, you'll need to use a thin, lightweight paper that's easy to cut. If you're making a sturdy sign, you'll need to use a thicker, more durable material like wood or acrylic.
That's where understanding the different types of materials that can be cut with a Cricut Maker 3 comes in. A Cricut Maker 3 tutorial will teach you about the different types of materials that can be cut with the machine, and how to choose the right material for your project. This will help you avoid wasting time and materials on projects that don't turn out the way you want them to.
For example, a Cricut Maker 3 tutorial might teach you that:
- Thin papers are best for delicate projects like paper cuts and greeting cards.
- Cardstock is a good choice for projects that need to be sturdy, like gift tags and scrapbook pages.
- Vinyl is a versatile material that can be used for a wide variety of projects, from decals to home dcor.
- Fabric can be cut with a Cricut Maker 3, but it requires a special blade and mat.
- Wood and acrylic are great choices for projects that need to be durable, like signs and coasters.
By understanding the different types of materials that can be cut with a Cricut Maker 3, and how to choose the right material for your project, you can ensure that your projects turn out exactly the way you want them to.
Tools
Your Cricut Maker 3 is a powerful machine, and it comes with a variety of tools and features that can help you create a wide range of projects. Understanding the different tools and features of your machine is essential for getting the most out of it.
- Rotary Blade
The rotary blade is a precision cutting tool that can be used to cut a variety of thin materials, such as paper, cardstock, and fabric. It is also capable of making intricate cuts, such as those needed for paper crafts and scrapbooking. - Knife Blade
The knife blade is a heavy-duty cutting tool that can be used to cut thicker materials, such as leather, wood, and acrylic. It is also capable of making clean, straight cuts, making it ideal for projects such as signs and home dcor. - Scoring Stylus
The scoring stylus is a non-cutting tool that can be used to create creases in paper and cardstock. This can be useful for creating folded projects, such as cards and boxes, or for adding decorative elements to your projects. - Other Tools
In addition to the rotary blade, knife blade, and scoring stylus, the Cricut Maker 3 also comes with a variety of other tools and accessories, such as a spatula, tweezers, and a brayer. These tools can help you to load and unload materials, remove cutouts from the mat, and apply adhesive to your projects.
Software
Cricut Design Space is the software that you'll use to create and cut your designs with your Cricut Maker 3. It's a powerful software that allows you to create a wide variety of projects, from simple stickers to complex home dcor. A Cricut Maker 3 tutorial will teach you how to use Cricut Design Space, including how to:
- Create new designs
Cricut Design Space includes a variety of tools that you can use to create your own designs, including shapes, text, and images. You can also import your own designs into Cricut Design Space. - Edit designs
Once you've created a design, you can use Cricut Design Space to edit it. You can change the size, shape, and color of your design, and you can also add text and images. - Cut designs
Once you're happy with your design, you can use Cricut Design Space to cut it out with your Cricut Maker 3. Cricut Design Space will automatically generate the cut settings for your design, but you can also adjust the settings manually. - Share designs
Cricut Design Space allows you to share your designs with other users. You can share your designs on social media, or you can save them to your Cricut account and share them with other Cricut users.
Design
The "Design" aspect of a Cricut Maker 3 tutorial is crucial, as it empowers you to bring your creative visions to life. Whether you prefer crafting your own unique designs or utilizing pre-made options, Cricut Design Space offers a comprehensive suite of tools and resources to cater to your needs.
- Creating Custom Designs
Cricut Design Space provides an array of tools to unleash your creativity. With its intuitive interface, you can effortlessly draw shapes, add text, and import images to create personalized designs tailored to your specific project requirements. - Utilizing Pre-Made Designs
For those seeking inspiration or convenience, Cricut Design Space offers an extensive library of pre-made designs. These professionally crafted designs span various categories, including home decor, paper crafts, and apparel, allowing you to find the perfect design for your project with minimal effort. - Editing and Customization
Both custom and pre-made designs can be seamlessly edited within Cricut Design Space. Adjust sizing, modify colors, and incorporate additional elements to make the design truly your own. This flexibility empowers you to create unique variations and add personal touches to any project. - Sharing and Collaboration
Cricut Design Space fosters a vibrant community of crafters. Its sharing platform enables you to share your designs with others, seek inspiration from fellow creatives, and collaborate on projects, enriching your crafting journey and expanding your creative horizons.
Mastering the design capabilities of Cricut Design Space unlocks a world of possibilities. From conceptualizing original designs to selecting and customizing pre-made options, you gain the power to create projects that reflect your personal style and bring your creative ideas to fruition.
Cut
The "Cut" aspect of a Cricut Maker 3 tutorial delves into the essential process of utilizing your machine to bring your designs to life. This section provides comprehensive guidance on how to operate your Cricut Maker 3 to achieve precise and professional cuts on a wide range of materials.
- Material Selection and Settings
Understanding the properties and requirements of different materials is crucial. The tutorial covers how to choose the appropriate materials for your project and how to adjust the cut settings accordingly, ensuring optimal results.
- Blade Selection and Care
The Cricut Maker 3 offers a range of blades designed for specific materials. The tutorial explains the different blade types, their applications, and proper maintenance techniques to ensure longevity and precision.
- Cutting Techniques
Beyond simply pressing a button, the tutorial delves into advanced cutting techniques. It covers topics such as multi-layer cutting, intricate designs, and using specialty tools to achieve professional-grade results.
- Troubleshooting and Maintenance
Even experienced crafters encounter occasional challenges. The tutorial provides troubleshooting tips to resolve common cutting issues and emphasizes the importance of regular machine maintenance to ensure optimal performance and longevity.
Mastering the "Cut" aspect empowers you to transform your designs into tangible creations. Whether you're a beginner exploring the basics or an experienced crafter seeking to expand your skills, this section provides the knowledge and techniques to elevate your crafting projects and achieve stunning results.
Troubleshooting
In the realm of crafting with Cricut machines, troubleshooting plays a vital role in ensuring a smooth and successful experience. A Cricut Maker 3 tutorial is not complete without a comprehensive section dedicated to troubleshooting common problems. This aspect of the tutorial serves as a valuable resource for crafters of all levels, empowering them to resolve issues and optimize their Cricut Maker 3's performance.
Troubleshooting establishes a direct cause-and-effect relationship within the Cricut Maker 3 tutorial. By identifying potential problems and providing step-by-step solutions, the tutorial empowers users to diagnose and rectify errors effectively. This proactive approach minimizes frustration and allows crafters to progress seamlessly with their projects.
As an essential component of a Cricut Maker 3 tutorial, troubleshooting provides users with the knowledge and skills to navigate common challenges. It equips them with a deeper understanding of their machine's functionality, fostering self-reliance and problem-solving abilities. Moreover, troubleshooting promotes proactive maintenance practices, extending the lifespan of the Cricut Maker 3 and enhancing its overall performance.
For instance, if a user encounters difficulties with cutting intricate designs, the troubleshooting section of the tutorial may guide them to inspect the blade sharpness, adjust the cut settings, or select a more suitable material. By addressing specific issues, the tutorial empowers users to troubleshoot and resolve problems independently, saving time and ensuring project completion.
In conclusion, the "Troubleshooting: Get help troubleshooting common problems that you may encounter when using your Cricut Maker 3." aspect of a Cricut Maker 3 tutorial is indispensable. It provides crafters with the tools and knowledge to overcome challenges, optimize their machine's performance, and achieve successful project outcomes. By integrating troubleshooting into the tutorial, users gain a comprehensive understanding of their Cricut Maker 3, fostering a sense of accomplishment and empowering them to tackle future crafting endeavors with confidence.
Projects
The "Projects" section of a Cricut Maker 3 tutorial serves as a practical guide for crafters, providing a diverse range of project ideas and step-by-step instructions. This aspect of the tutorial plays a pivotal role in empowering users to bring their creative visions to life, showcasing the machine's versatility and capabilities.
The connection between "Projects" and "Cricut Maker 3 Tutorial" is evident in the cause-and-effect relationship they share. The tutorial provides the foundational knowledge and skills necessary to operate the Cricut Maker 3 effectively. In turn, the "Projects" section offers a practical application of these skills, allowing users to create tangible projects and witness the machine's potential firsthand.
Moreover, the "Projects" section serves as an essential component of the tutorial, complementing the theoretical and technical information provided in other sections. By offering real-life examples and detailed instructions, the "Projects" section enhances the learning experience and enables users to apply their newfound knowledge immediately. For instance, a tutorial on creating custom vinyl decals may include a step-by-step project for designing and cutting a decal for a laptop or water bottle.
The practical significance of understanding "Projects" within a Cricut Maker 3 tutorial lies in its ability to bridge the gap between theory and practice. It empowers users to translate their creative ideas into physical creations, fostering a sense of accomplishment and encouraging further exploration of the machine's capabilities. Furthermore, the "Projects" section serves as a valuable resource for crafters seeking inspiration and expanding their repertoire of projects.
In summary, the "Projects: Find inspiration and learn how to make a variety of projects with your Cricut Maker 3, from simple cards to complex home dcor." aspect of a Cricut Maker 3 tutorial plays a vital role in providing practical guidance, showcasing project applications, and enhancing the overall learning experience. It empowers users to bring their creative visions to life, fosters a sense of accomplishment, and encourages further exploration of the Cricut Maker 3's capabilities.
Tips and Tricks
The "Tips and Tricks" section of a Cricut Maker 3 tutorial plays a vital role in enhancing the user's experience and optimizing the machine's performance. This section provides invaluable insights and practical advice, empowering crafters to unlock the full potential of their Cricut Maker 3 and achieve professional-grade results.
The relationship between "Tips and Tricks" and "Cricut Maker 3 Tutorial" is one of cause and effect. The tutorial provides the foundational knowledge and skills necessary to operate the Cricut Maker 3 effectively. In turn, the "Tips and Tricks" section offers practical guidance and techniques that enhance the user's proficiency and enable them to produce high-quality projects consistently. For instance, a tutorial on creating custom vinyl decals may include a tip on using transfer tape to ensure precise and bubble-free application.
Moreover, the "Tips and Tricks" section is an essential element of the tutorial, complementing the theoretical and technical information provided in other sections. By offering real-world advice and troubleshooting techniques, the "Tips and Tricks" section enhances the learning experience and enables users to apply their newfound knowledge immediately. For example, a tip on adjusting the blade depth and pressure settings can help users achieve clean and precise cuts on a variety of materials.
The practical significance of understanding "Tips and Tricks" within a Cricut Maker 3 tutorial lies in its ability to bridge the gap between theory and practice. It empowers users to translate their creative ideas into physical creations, fostering a sense of accomplishment and encouraging further exploration of the machine's capabilities. Furthermore, the "Tips and Tricks" section serves as a valuable resource for crafters seeking to expand their skill set and achieve professional-grade results.
In summary, the "Tips and Tricks: Discover tips and tricks to help you get the most out of your Cricut Maker 3." aspect of a Cricut Maker 3 tutorial plays a vital role in providing practical guidance, enhancing the user's proficiency, and promoting a sense of accomplishment. It empowers users to unlock the full potential of their Cricut Maker 3, produce high-quality projects consistently, and embark on a journey of continuous learning and creative exploration.
Frequently Asked Questions
This section addresses frequently asked questions (FAQs) about Cricut Maker 3 tutorials, providing concise and informative answers to common queries or areas that may require further clarification.
Question 1: What topics are typically covered in a Cricut Maker 3 tutorial?A Cricut Maker 3 tutorial typically covers topics such as setup, material selection, tool usage, software navigation, design creation, cutting techniques, troubleshooting, project ideas, and tips and tricks.
Question 2: Are Cricut Maker 3 tutorials suitable for beginners?Yes, many Cricut Maker 3 tutorials are designed for beginners, providing step-by-step guidance and clear explanations. They aim to help users get started with their Cricut Maker 3 and create their first projects with confidence.
Question 3: Can I use a Cricut Maker 3 tutorial even if I have a different Cricut machine?While Cricut Maker 3 tutorials are specific to the Cricut Maker 3 machine, some of the general concepts and techniques covered may be applicable to other Cricut machines. However, it is recommended to refer to tutorials specifically designed for your Cricut machine model for optimal results.
Question 4: Are there any prerequisites for using a Cricut Maker 3 tutorial?Most Cricut Maker 3 tutorials assume basic computer literacy and familiarity with crafting tools. However, some tutorials may require prior knowledge of specific software or techniques. It is advisable to read the tutorial description carefully to ensure it aligns with your skill level.
Question 5: How can I find a reputable Cricut Maker 3 tutorial?Look for tutorials from official Cricut sources, such as the Cricut website or YouTube channel. Additionally, reputable crafting blogs, online forums, and video platforms often provide high-quality Cricut Maker 3 tutorials created by experienced users.
Question 6: Are there any advanced Cricut Maker 3 tutorials available?Yes, there are tutorials that delve into advanced techniques and explore the full capabilities of the Cricut Maker 3. These tutorials may cover topics such as complex design creation, intricate cutting techniques, multi-layer projects, and advanced software features.
These FAQs provide a comprehensive overview of common questions and concerns related to Cricut Maker 3 tutorials. By addressing these queries, users can better understand the scope and benefits of these tutorials and make informed decisions about their crafting journey.
As we delve deeper into the world of Cricut Maker 3 tutorials, we will explore specific techniques and project ideas that can help you unleash your creativity and bring your crafting visions to life.
Tips for Optimizing Your Crafting Experience
This section provides practical tips and techniques to enhance your crafting journey and maximize the capabilities of your Cricut machine.
Tip 1: Choose the Right MaterialSelecting the appropriate material for your project is crucial. Consider factors such as thickness, durability, and compatibility with your Cricut machine to ensure successful cuts and long-lasting results.Tip 2: Calibrate Your Machine Regularly
Regular calibration ensures precise cutting and accurate registration. Follow the manufacturer's instructions to calibrate your Cricut machine and maintain its optimal performance.Tip 3: Use a Sharp Blade
A sharp blade contributes significantly to clean cuts and intricate designs. Replace your blade regularly or as needed to maintain its sharpness and prevent tearing or fraying of materials.Tip 4: Adjust Cutting Pressure and Speed
Fine-tune the cutting pressure and speed settings based on the material you're using. Experiment with different settings to find the optimal combination for your project, ensuring clean cuts without damaging the material.Tip 5: Secure Your Material Properly
Properly securing your material to the cutting mat prevents shifting during the cutting process. Use a strong adhesive or masking tape to hold the material firmly in place.Tip 6: Clean Your Machine Regularly
Regular cleaning removes dust, debris, and adhesive residue from your Cricut machine. This maintenance helps prevent malfunctions, ensures smooth operation, and extends the machine's lifespan.Tip 7: Explore Design Software Features
Take advantage of the design software's capabilities beyond basic cutting. Explore features such as layering, welding, and offsetting to create intricate and personalized designs.Tip 8: Join Cricut Community Forums
Connect with other Cricut users on online forums or social media groups. Share ideas, troubleshoot problems, and seek inspiration from a community of fellow crafters.Summary
By implementing these tips, you can optimize your crafting experience, achieve professional-quality results, and unlock the full potential of your Cricut machine.Transition to Conclusion
As we conclude this guide, remember that embracing these tips empowers you to enhance your crafting skills, expand your creative horizons, and embark on a fulfilling journey of artistic expression.
Conclusion
This comprehensive guide to Cricut Maker 3 tutorials has provided valuable insights into the vast capabilities of this remarkable cutting machine. Throughout the article, we have explored key aspects, including setup, materials, tools, software, design, cutting, troubleshooting, projects, tips, and tricks.
Three main points stand out as interconnected pillars of the Cricut Maker 3 tutorial experience:
- Technical Proficiency: Understanding the machine's components, software functionality, and cutting techniques empowers users to operate the Cricut Maker 3 with precision and efficiency.
- Creative Exploration: The diverse project ideas and design tools encourage crafters to unleash their creativity and bring their unique visions to life.
- Problem-Solving Mindset: Troubleshooting guidance and community support enable users to overcome challenges, refine their skills, and continuously improve their crafting outcomes.
Embracing these principles allows crafters to transcend the boundaries of ordinary crafting and embark on a journey of artistic expression and innovation. Whether you are a seasoned Cricut enthusiast or just starting to explore the world of cutting machines, this guide has equipped you with the knowledge and resources to unlock the limitless potential of the Cricut Maker 3.